How to instail 270 awning
|
|
Time to read 3 min

|
|
Time to read 3 min
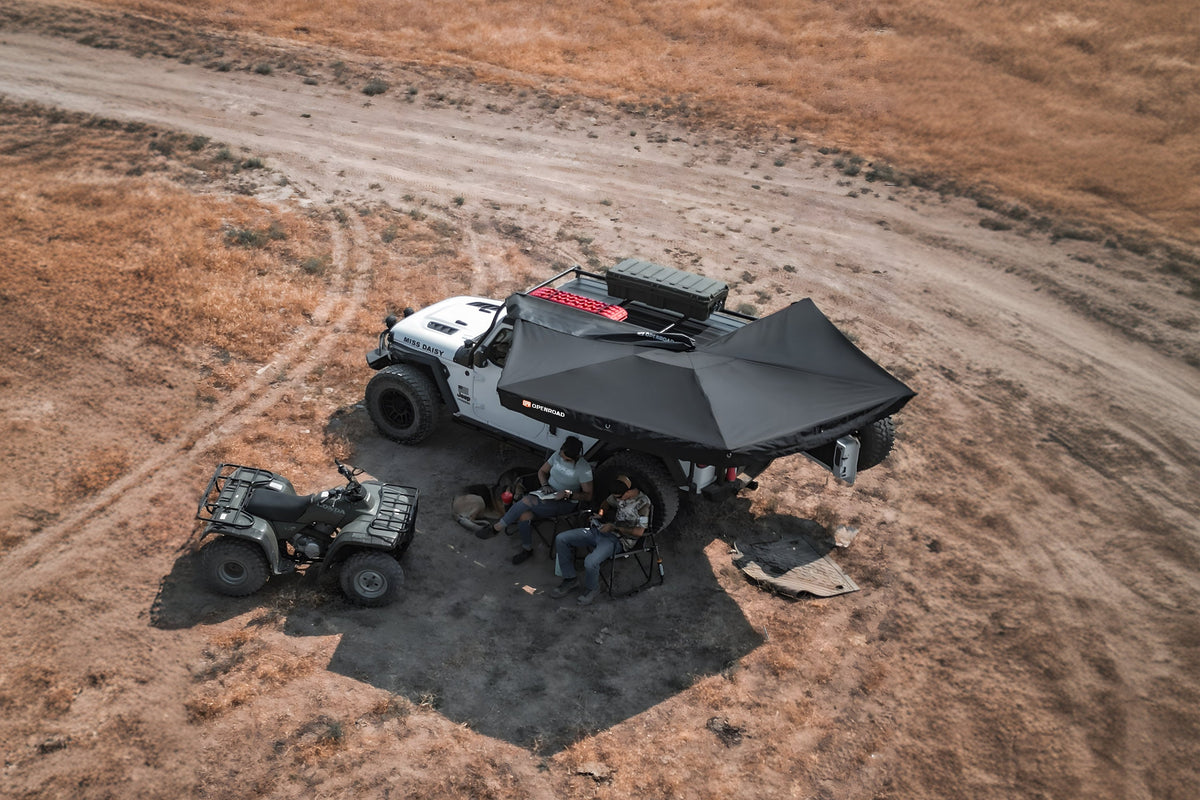
The 270 awning is becoming more and more popular among outdoor enthusiasts — and for good reason. Its easy setup and unbeatable value make it a go-to choice for campers and 4WD adventurers alike. But how to install 270 awning on your own vehicle? In this guide, we’ll walk you through the step-by-step installation process so you can get the most out of your next trip.
For a practical demonstration, watch our video tutorial:

• 3 mounting brackets
• USB power cor
• Ratchet rope
• Black storage bag
• 6 mounting piece
• 4 wind rope
• 4 heavy duty ground stakes
• 2 wrenches
• Includes assorted screws and cap
Once everything is checked and ready, we can move on to the installation

As shown in the image above, your OPENROAD 270 awning comes with T-slot channels underneath. Slide the mounting bolts into these slots to match the position of your mounting brackets.


Attach the mounting brackets directly to the awning.Then place a washer and a tie-down nut onto each bolt, and tighten them loosely for now.Slide the first mounting bracket toward one end of the awning track. Then, attach the second bracket the same way and slide it toward the opposite end. Finally, mount the third bracket in the middle of the track, positioning it evenly between the two outer brackets

 Pro Tip: Make sure the mounting brackets are facing the correct direction — installing them backwards may block your car doors from opening.


Align the exposed bolts with the T-slots in your roof rack or platform.Each bracket is fitted with three bolts, and you can install the awning onto up to three roof rack crossbars or platform rails. then slide them into position. At this stage, you’re only placing the bolts — do not tighten anything yet.Align the exposed bolts with the T-slots in your roof rack or platform.


Carefully lift the awning — with the mounting brackets already attached — onto your roof rack or platform.As shown in the image above, align the bracket bolts with the slots on your rack or platform rails. Make sure the bolts go through the track properly, and that the brackets sit flush and evenly.Once aligned, insert washers and nuts underneath, then tighten them securely using a wrench.Don't forget the washers and nuts underneath on the Awning.


With the awning now securely mounted, you can begin deployment.Start by undoing the straps or buckles that hold the awning closed. Gently pull out the first swing arm, rotating it away from the vehicle in a smooth arc. As shown above, the arm should pivot easily on its hinge.Continue unfolding each arm, wrapping around the side and rear of your vehicle to complete the 270° coverage.


Once the awning arms are fully deployed, use the included tie rope to secure the awning canvas to your vehicle.As shown in the image above, loop the rope through the awning’s edge loop and attach the other end to a fixed point on your roof rack or canopy.This helps keep the awning tight and in place, especially in windy conditions, and improves overall coverage and stability.


Pull down the integrated support legs from each awning arm. Adjust the height to fit the terrain. For added stability, especially in windy conditions, use the included guy ropes and ground stakes. Attach one end of the guy rope to the loop at the end of the awning arm or leg, then anchor the rope to the ground using a heavy-duty stake at a 45° angle. Repeat for all legs and tension the ropes evenly to keep the awning taut and steady.


Your OPENROAD 270 awning includes three LED light strips that connect directly to the awning frame..Insert the LED light strip plug into the designated socket located on the awning itself. The socket is built into the awning frame and clearly marked for easy access.Once connected, use the included USB power cable to plug into a power source such as a power bank, 12V car outlet, or portable power station.The LED system will activate instantly, and you can adjust brightness and lighting mode using the in-line control switch.


And that’s it — your OPENROAD 270 awning is ready to roll. Whether you're camping solo or heading out with mates, you’ve now got shade and shelter sorted in under 30 seconds.
Got a question or tip of your own? Drop it in the comments — we’d love to hear it.
If this blog helped you, feel free to say "nice" below — or better yet, tell us what.

@2026 openroad4wd all rights reserved